DIY Subway Tile Backsplash Backdrop
Today’s post is for you people out there with non-photo friendly kitchens (my hand raises), but who still want to take pretty pictures.
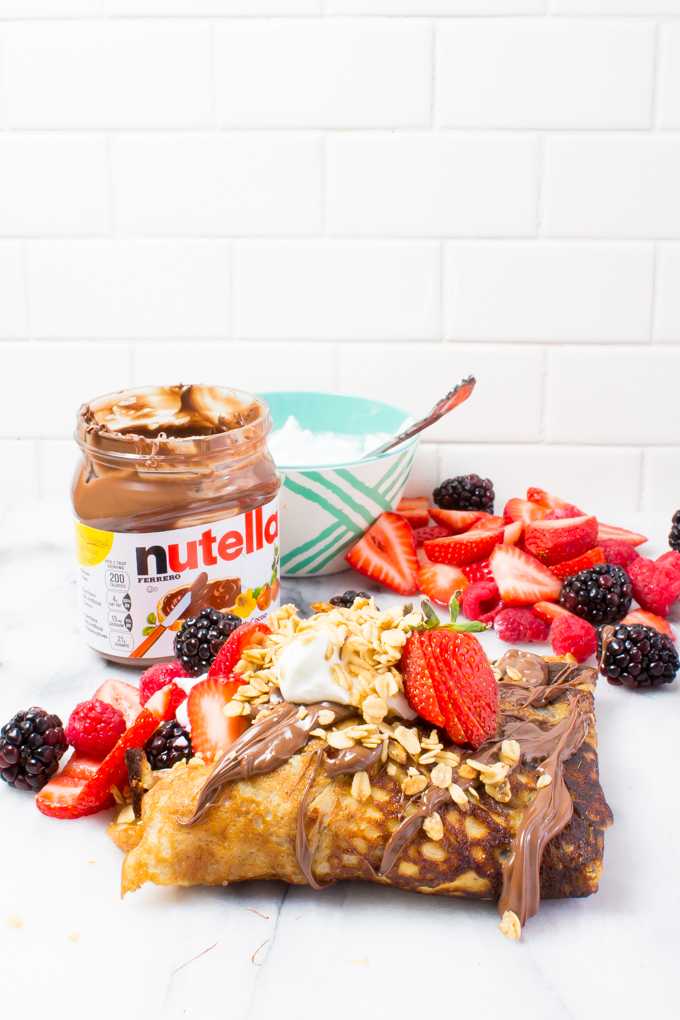
I’m going to walk you through the steps to make the subway tile backsplash backdrop pictured below.
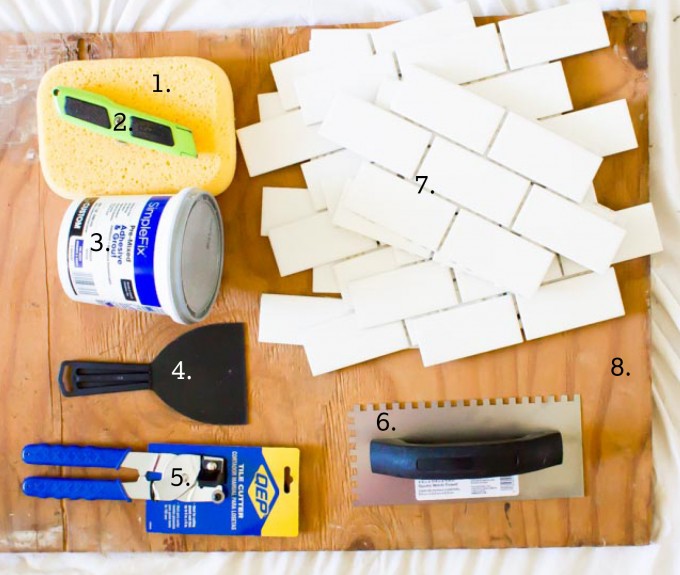
 For this project you will need:
1. sponge
2. utility knife/box cutter
3.tile adhesive
4. putty knife
5. tile cutter
6. tiling trowel
7. white subway tiles
8. piece of plywood
Choose the size of your plywood and number of subway tiles based on the size you want your backdrop to be.
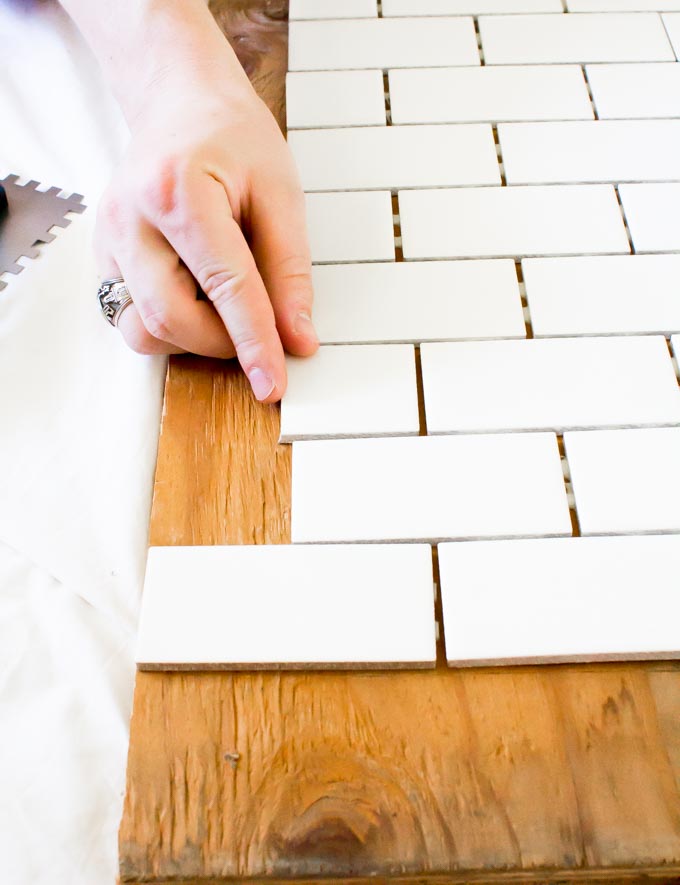
First, layout your tiles so you know how they’ll fit on your plywood. You may need to use your utility knife here if your subway tiles are sold in sheets and you need to separate tiles from one another.
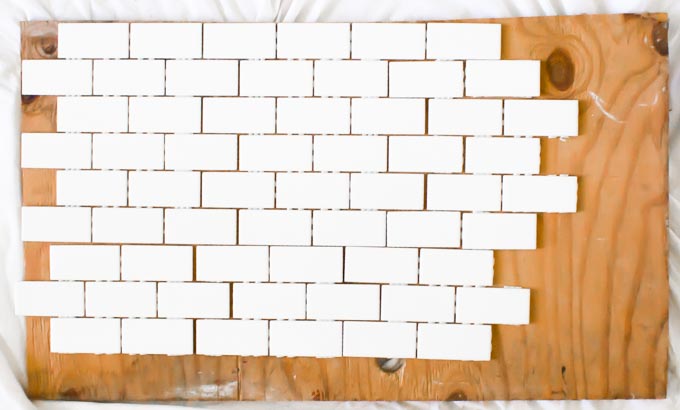
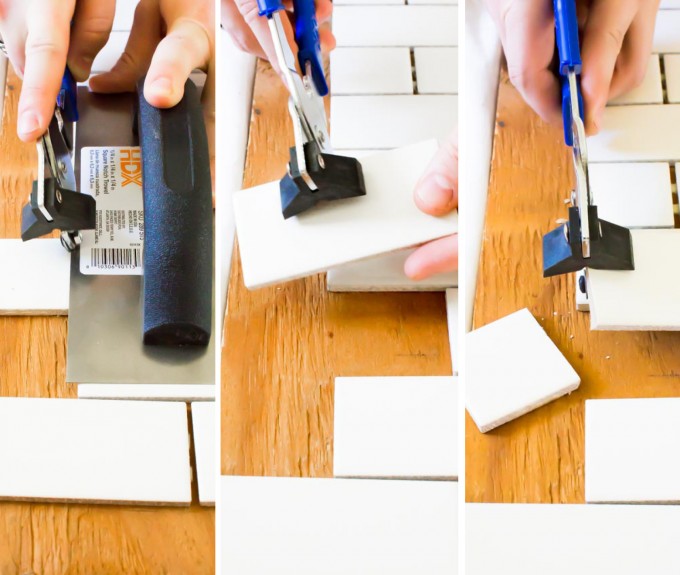
Then use your tile cutter to cut your subway tiles in half along one side of your board to make all the tiles on that end of the board line up evenly.
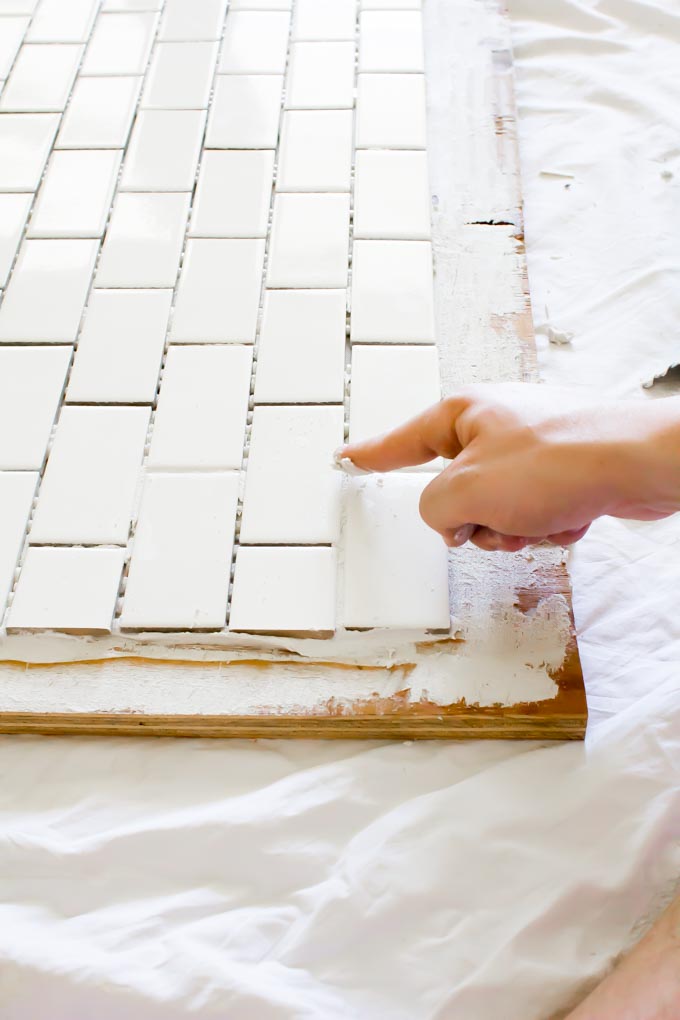
Then place the half tiles, that you just cut, on the other side of the plywood to make those subway tiles line up in an even line.
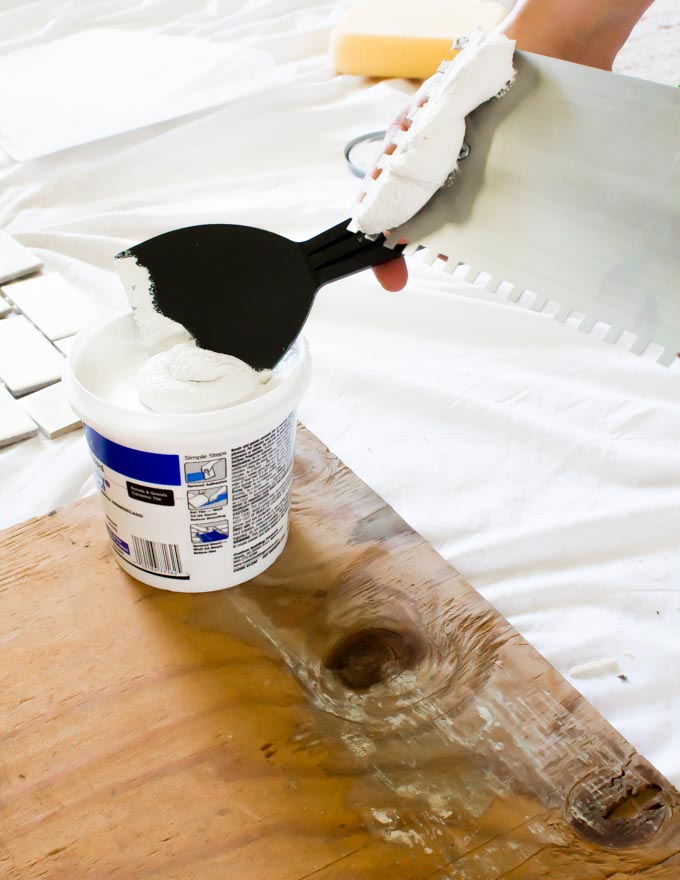
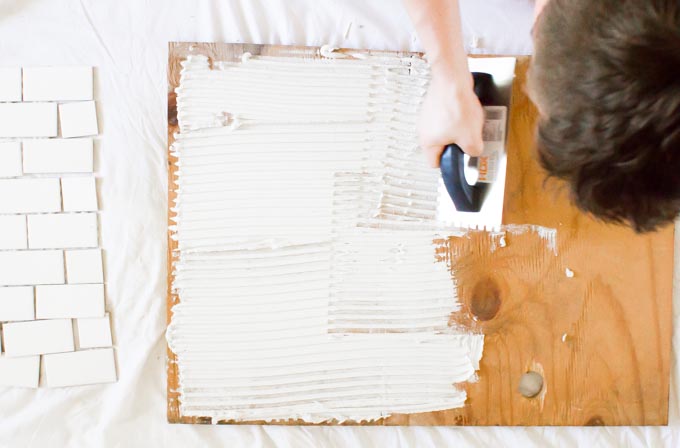
Remove your tiles from the board without messing up their order. Then use your tiling trowel and putty knife to add tile adhesive to the plywood.
Press on your subway tiles.

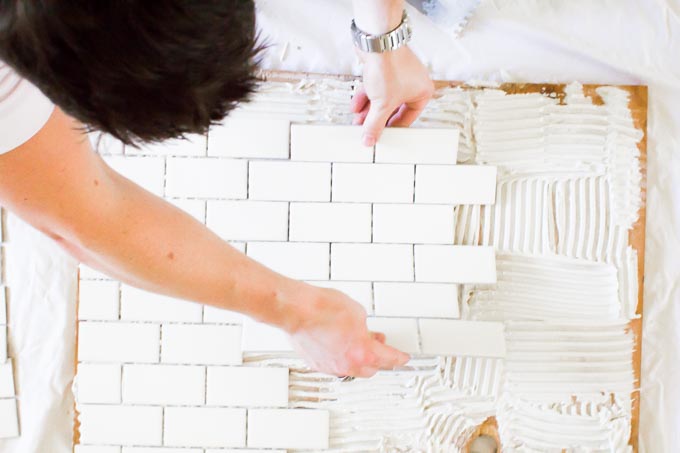
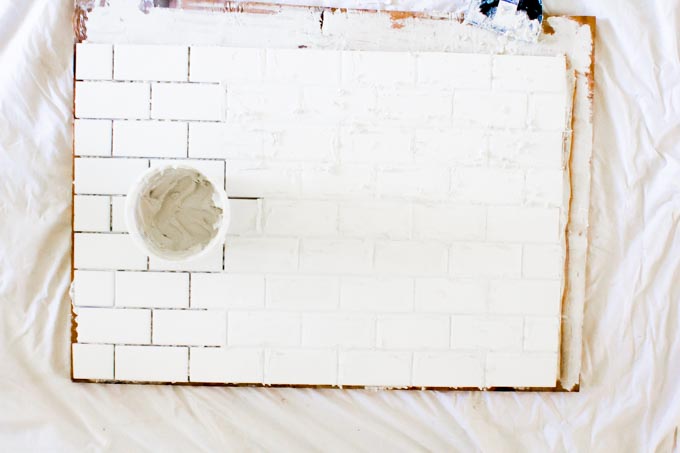
Allow tile to set for a couple hours or just go right into grouting, but be careful not to press too hard on the tiles and move them.
Use your finger (you could wear gloves) to grout between the tiles using the tile adhesive (our tile adhesive was also advertised as a grout).
Then use the putty knife/damp sponge/fingers to remove excess grout from the top of the tiles. Work quickly because you don’t want to give the grout enough time to harden on top of your tile.
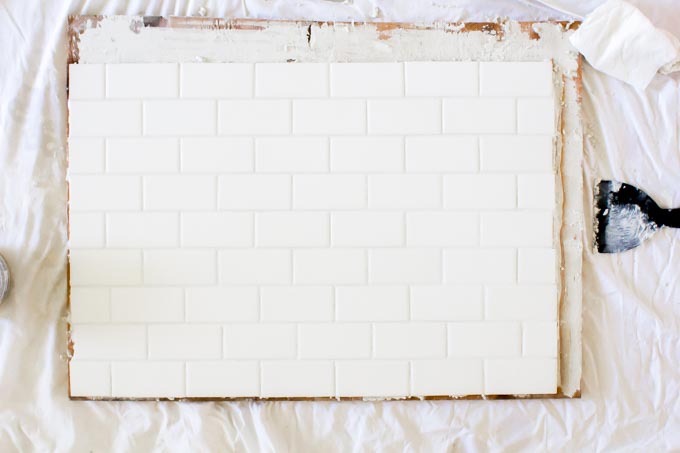
Allow to dry for 24 hours. Then DONE! Go take some food pictures.


What a fantastic idea! Living in an apartment I’m somewhat limited to what they choose for me in the kitchen which tends to be a lot f brown. I might have to try this one out!
This would be a great option for apartment living! Our kitchen has brown tile for counter tops:(((
Holy cow, my mind is blown right now! I thought you just had a beautiul kitchen….
Ha! Not at all!!
This is beautiful! I definitely don’t have a photo worthy kitchen. Was this an expensive project?
Cost right around $75 for us. So not too bad!
Hi Kylie! Love this post, especially after looking over your shoulder at all your photos on the plane yesterday! My daughter and I are going to do this, as she’s always looking for a spot for a photo that’s not on our hardwood floor!!
It was great talking with you. Enjoy almond country!
Hi Sharon! Was so nice meeting you yesterday! Glad you left a comment and I hope the project works well for you guys:)
This is such a brilliant idea!!!
What a great idea!! I would pretty much need to purchase every supply brand new, so this might be a bit of a pricey project for me, but it definitely has my wheels turning for creative ways to fake a kitchen! My apartment kitchen is kind of photogenic, but gets 0 natural light so it’s worthless haha.
Pingback: Blog Brulee is My BAE. - Sinful Nutrition
Pingback: My food photography setup - Yeah...Immaeatthat
I love this idea! I’m starting a food blog soon and plan on making this. But I was wondering how big the piece of plywood was that you used?
Hi Megan! The plywood is ~1/2″ thick and 2.5ft X 2.5ft. I hope you enjoy blogging as much as I have! Good luck to you:))
Pingback: Our kitchen remodel! – Yeah…Immaeatthat
Pingback: FAQs – Yeah…Immaeatthat
That’s a really great idea, However as a pro tiler I would recommend you use cement board instead of plywood as ply is less rigid and bends a lot which could cause the tiles to fall off.
ooo thanks for the tip, Sarah! I’ll remember this if I ever make another board in the future!
Hello Kyle,
Im so glad I found this annnnnnd Pinterest lol, I’ve had an account for years!
I have a question the extra unfinish part of your board did you trim or cut that off? I noticed it was unfinished. Ty ty ty ty sooooo much was about to spend 100’s of $ with a company.